Getting Started

Connect your camera to power and your router. You won't need ethernet after setup.

Connect the cables to your camera.

Launch the Insteon app on your Android device.
Setup with iPhone, iPad, iPod touch or Android devices requires Insteon Hub and the Insteon app.

Navigate to Settings by tapping Edit Settings from the Settings button

Tap Devices

Tap the Add button

Tap Camera
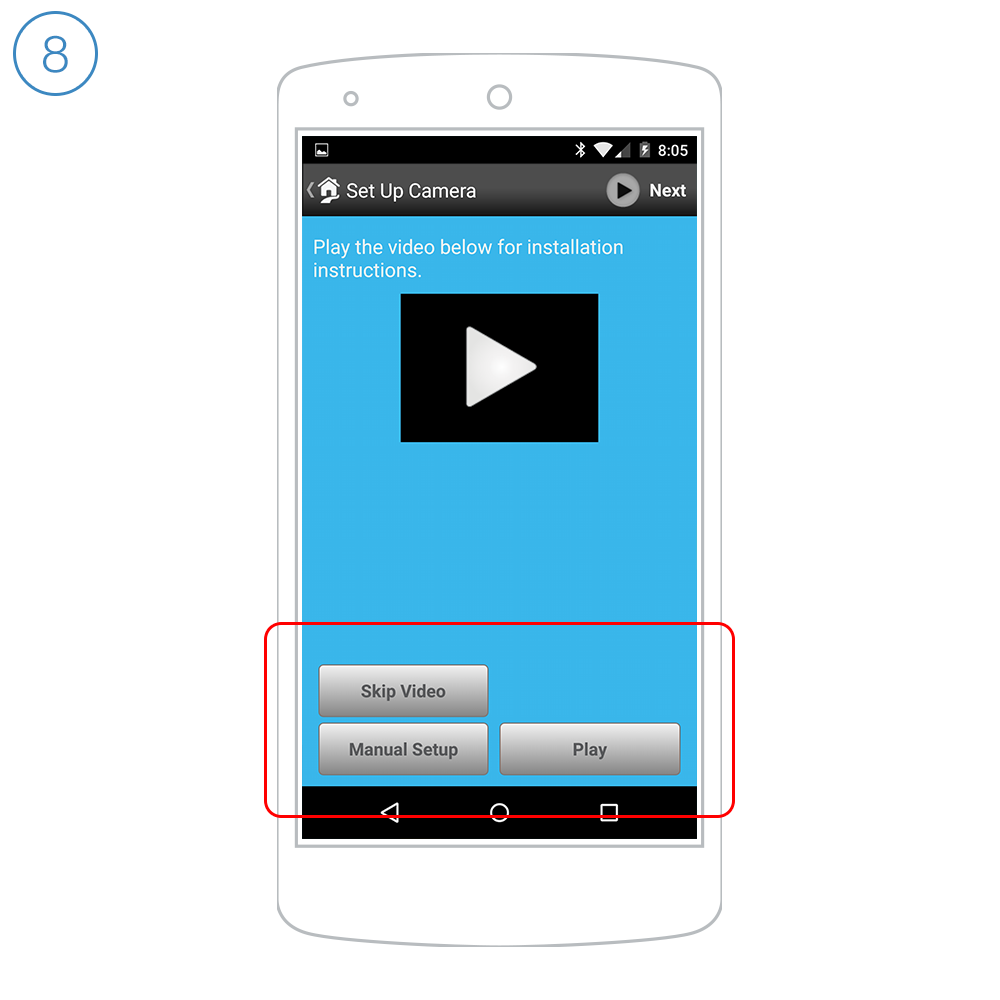
Tap Play to watch the setup video or tap Skip Video to continue with setup
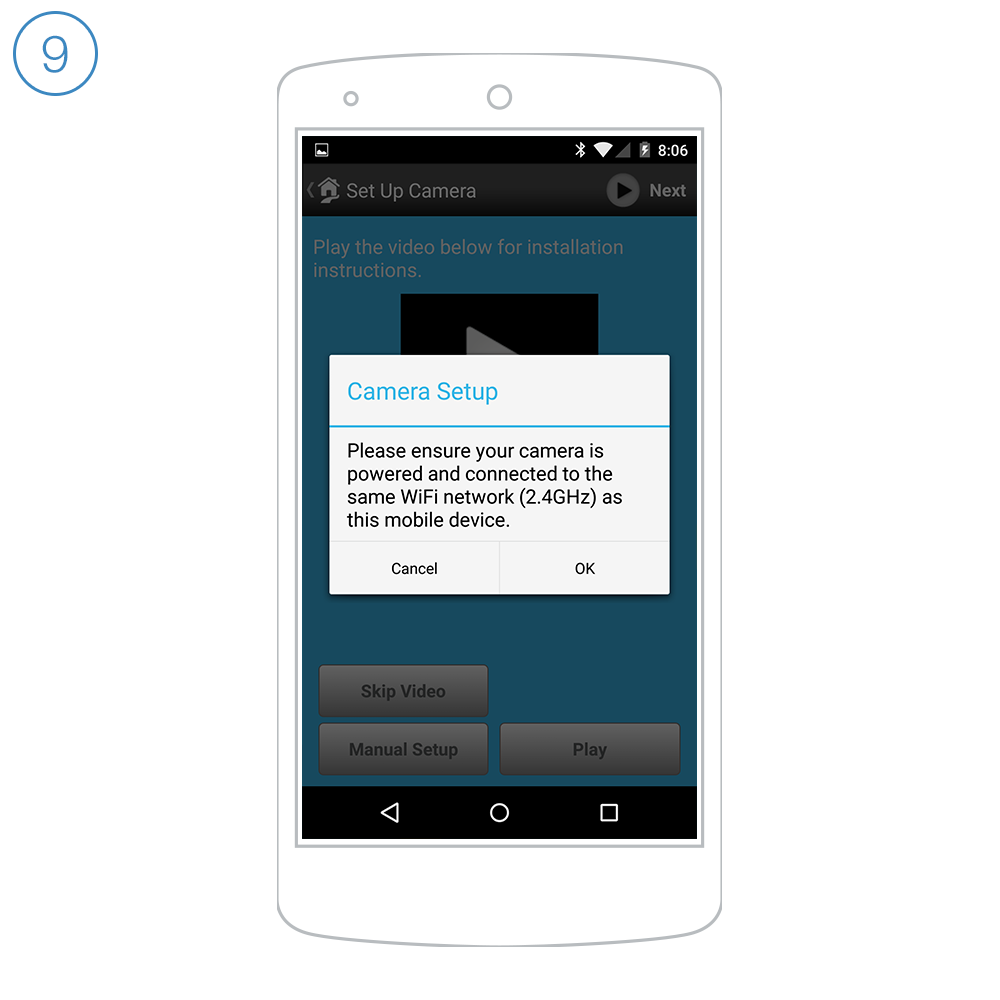
If you have not already done so, connect your camera to power and your router using the supplied cables. It can take up to two minutes for your camera to complete its startup process. When ready, tap OK.
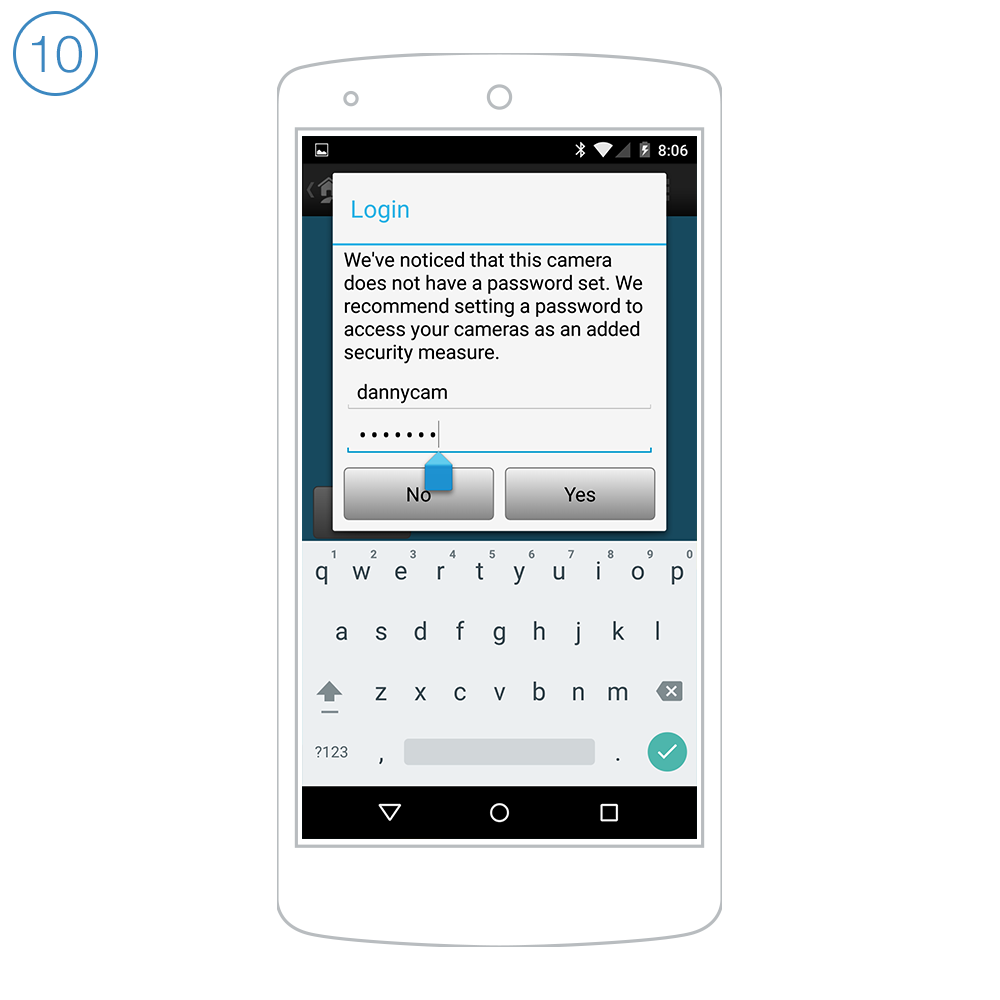
Give your camera a user name and password. This information is used to secure your camera and should be different from your Insteon account.
The maximum password length is 12 characters
The password must contain letters and numbers only, no special characters (!@#$%^&*, etc.) are permitted
The password cannot contain spaces
When ready, tap Yes.
Connecting with Wi-Fi
Follow these steps if you want to connect your camera using Wi-Fi

Choose the Wi-Fi option that applies to your network: password-protected or open.

Enter your Wi-Fi network password and tap Done.

Wait while your camera's settings are updated
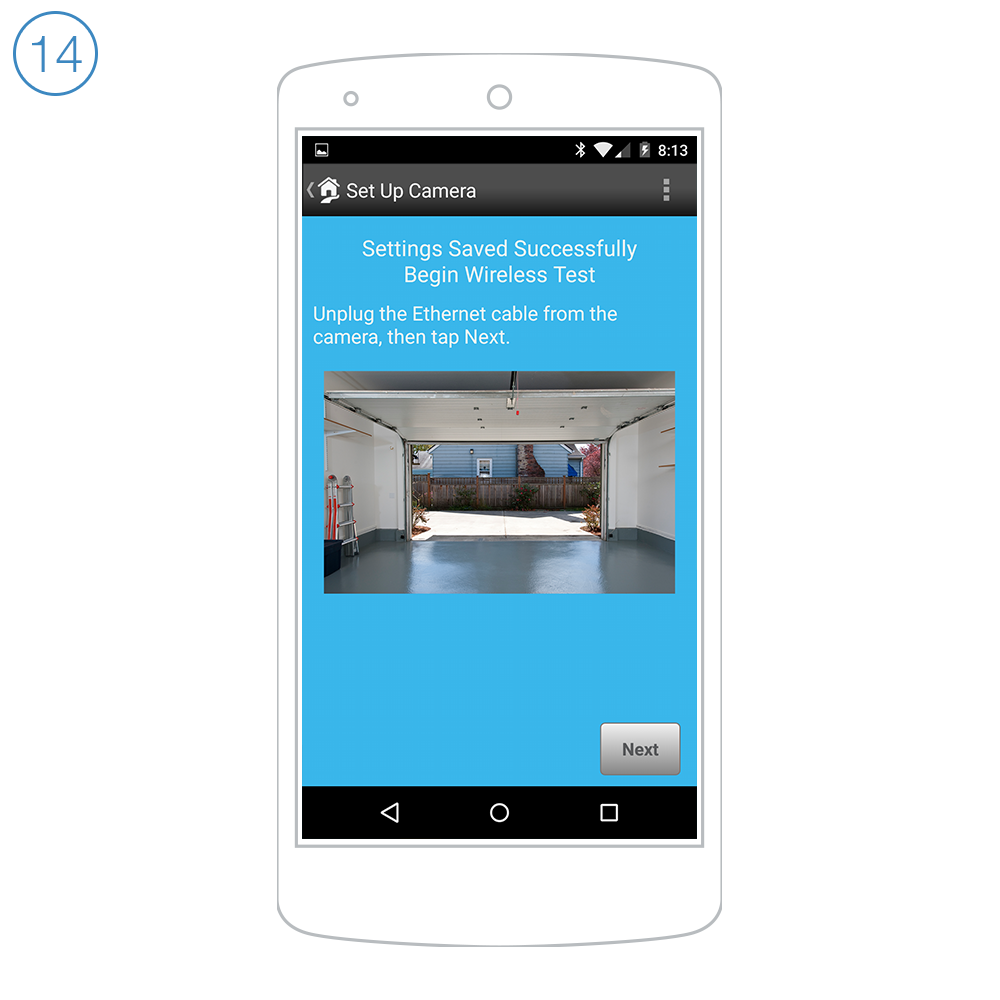
If you do not disconnect the ethernet cable, your camera will not switch to Wi-Fi.
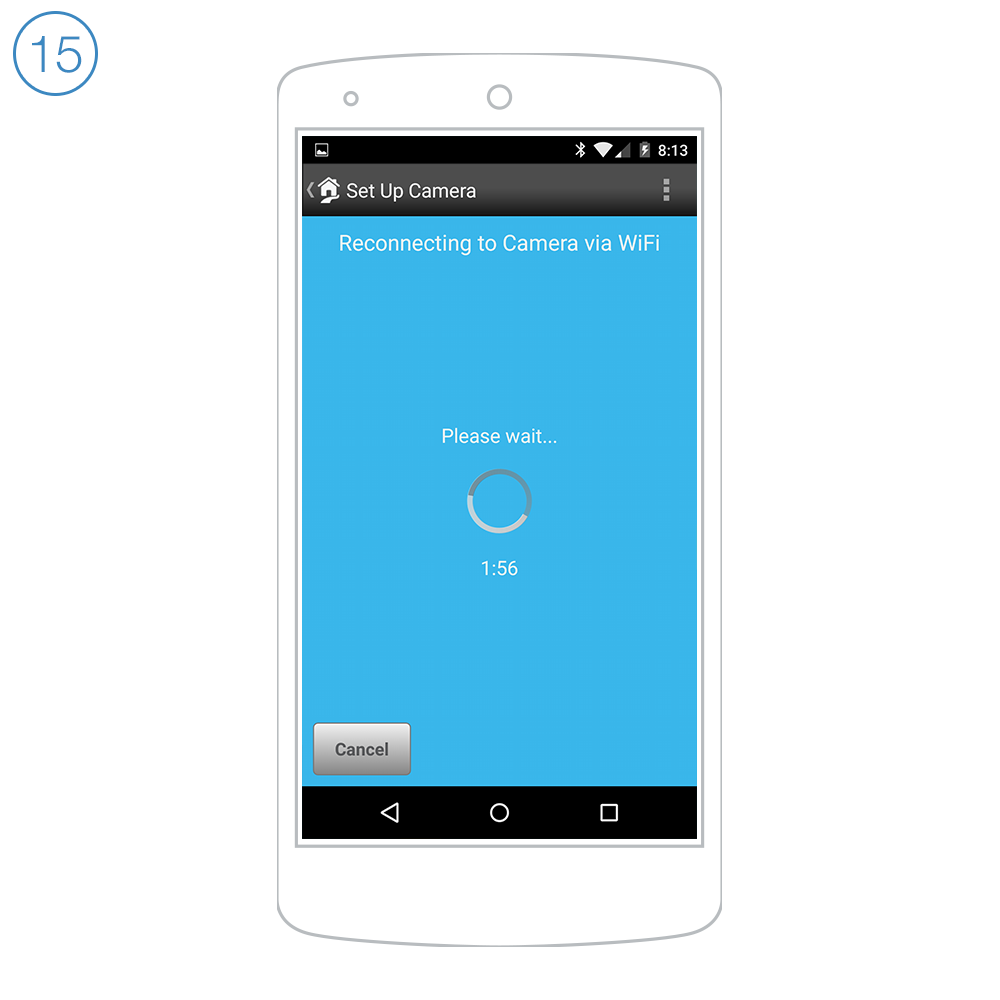
Wait while your camera reconnects to Wi-Fi

Name your camera, select an icon and add it to a room.

Scroll down and write down the Local IP Address and IP Port. When ready, tap Done.

Return to Settings by tapping Edit Settings from the Settings button

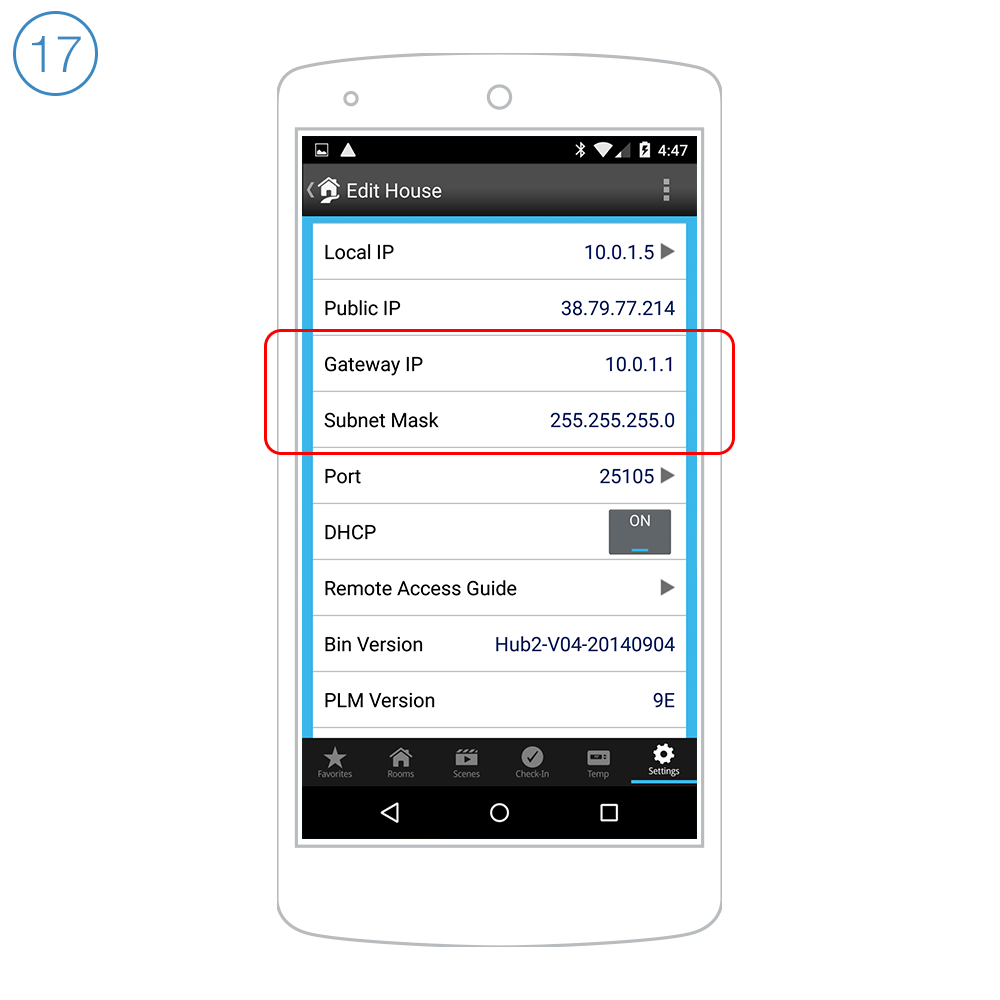
Tap House

Write down the Gateway IP address and Subnet Mask. You should now have the following information:
Camera IP Address
Camera Port
Gateway IP Address
Subnet Mask
Dismiss settings and follow the steps in this article to complete port forwarding and manual remote access setup.
Connecting with Ethernet
Follow these steps if you want to connect your camera using Ethernet

Tap Use hardwired with an Ethernet cable

Wait while your camera's settings are updated

Name your camera, select an icon and add it to a room.

Scroll down and write down the Local IP Address and IP Port. When ready, tap Done.

Return to Settings by tapping Edit Settings from the Settings button

Tap House
Write down the Gateway IP address and Subnet Mask. You should now have the following information:
Camera IP Address
Camera Port
Gateway IP Address
Subnet Mask
Dismiss settings and follow the steps in this article to complete port forwarding and manual remote access setup.
Guides, Manuals and Downloads
Quick Start Guide


Owner's Manual

Downloads

Basic Troubleshooting
Optional Wall Mount

Mount the optional bracket using screws and wall anchors.
Different wall materials require different fasteners. Use the appropriate type for your mounting surface. Drywall screws and anchors have been provided. Use caution when drilling holes in walls that may contain live electrical wires.
Camera Firmware

Current Wi-Fi Camera Firmware
Device 11.37.2.59Web UI 2.001.10.9