As of December 31 2016 Insteon customer service will no longer provide technical support for the 75740 series (standard definition) cameras.


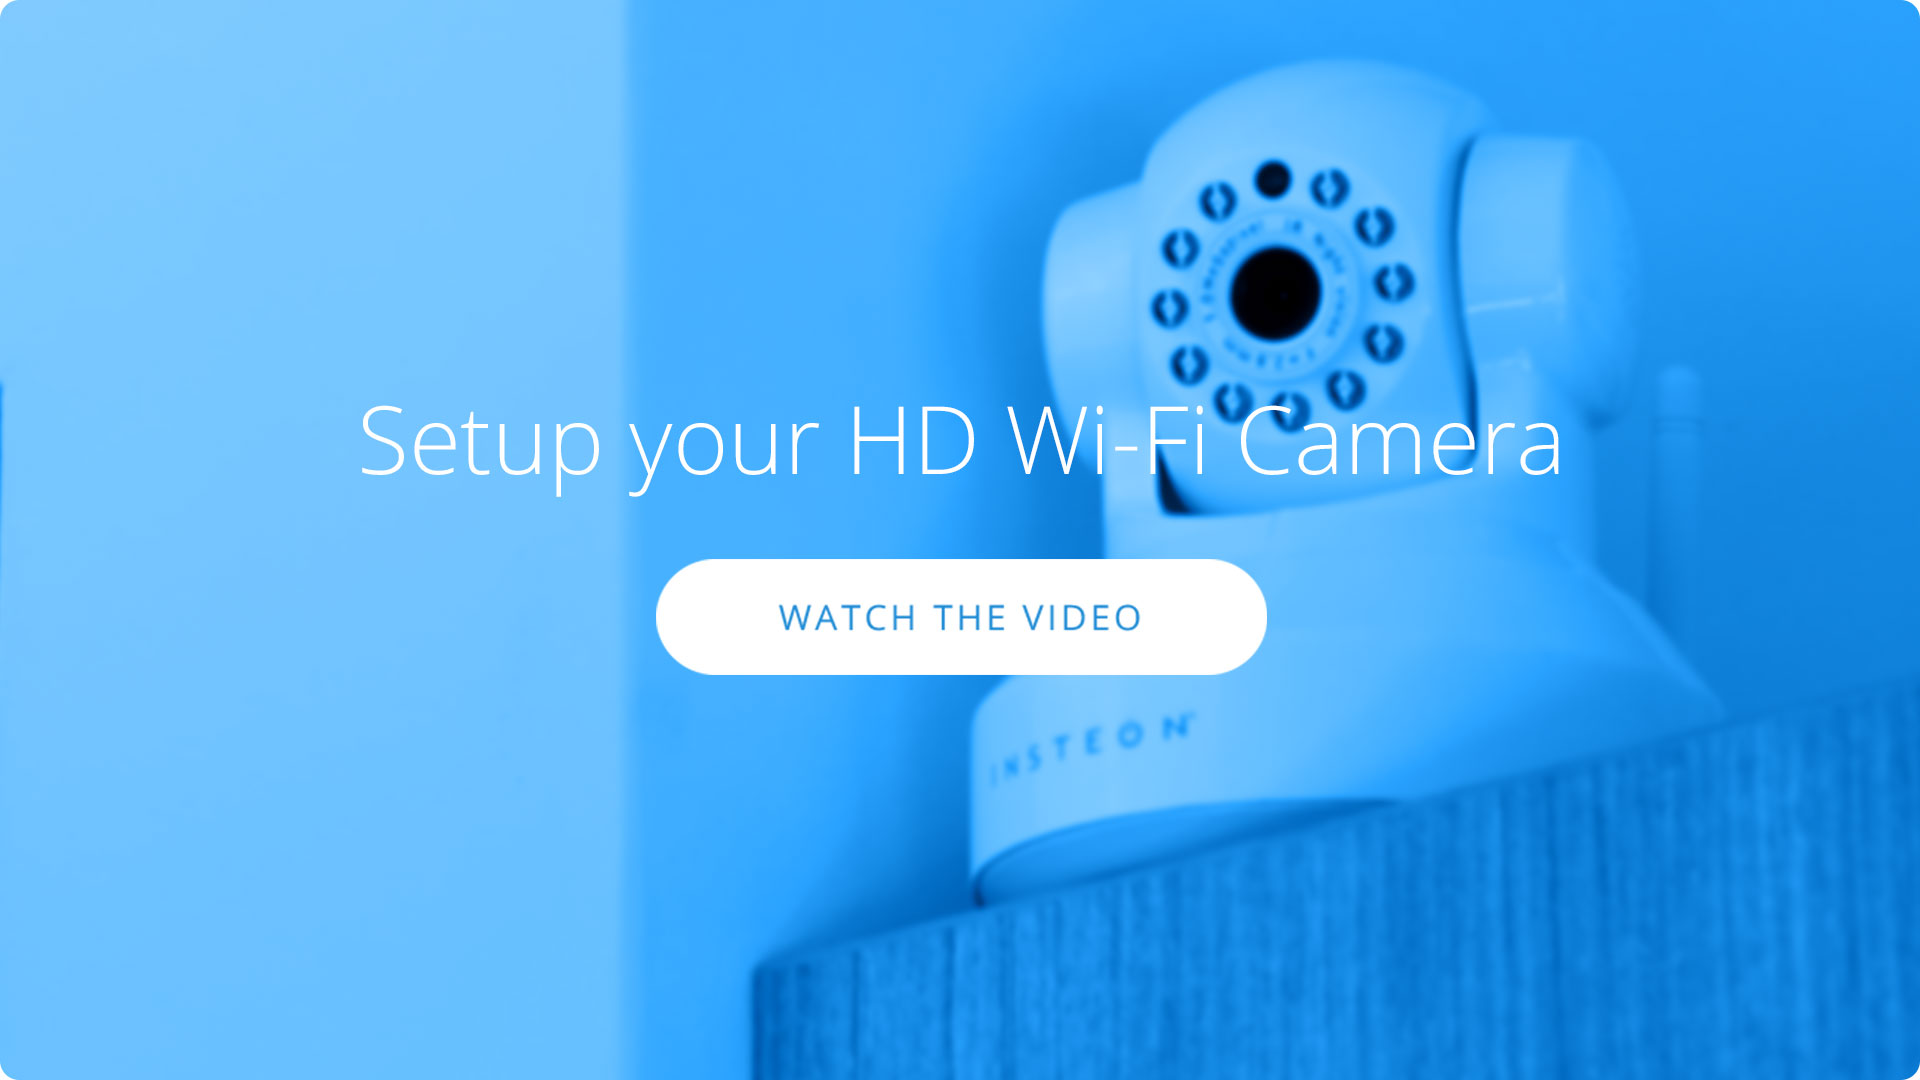
HD Wi-Fi Camera Setup
Getting Started

Connect the ethernet cable to your router and plugin the power adapter. You can disconnect the ethernet cable after setup is complete.

Connect the cables to your camera.

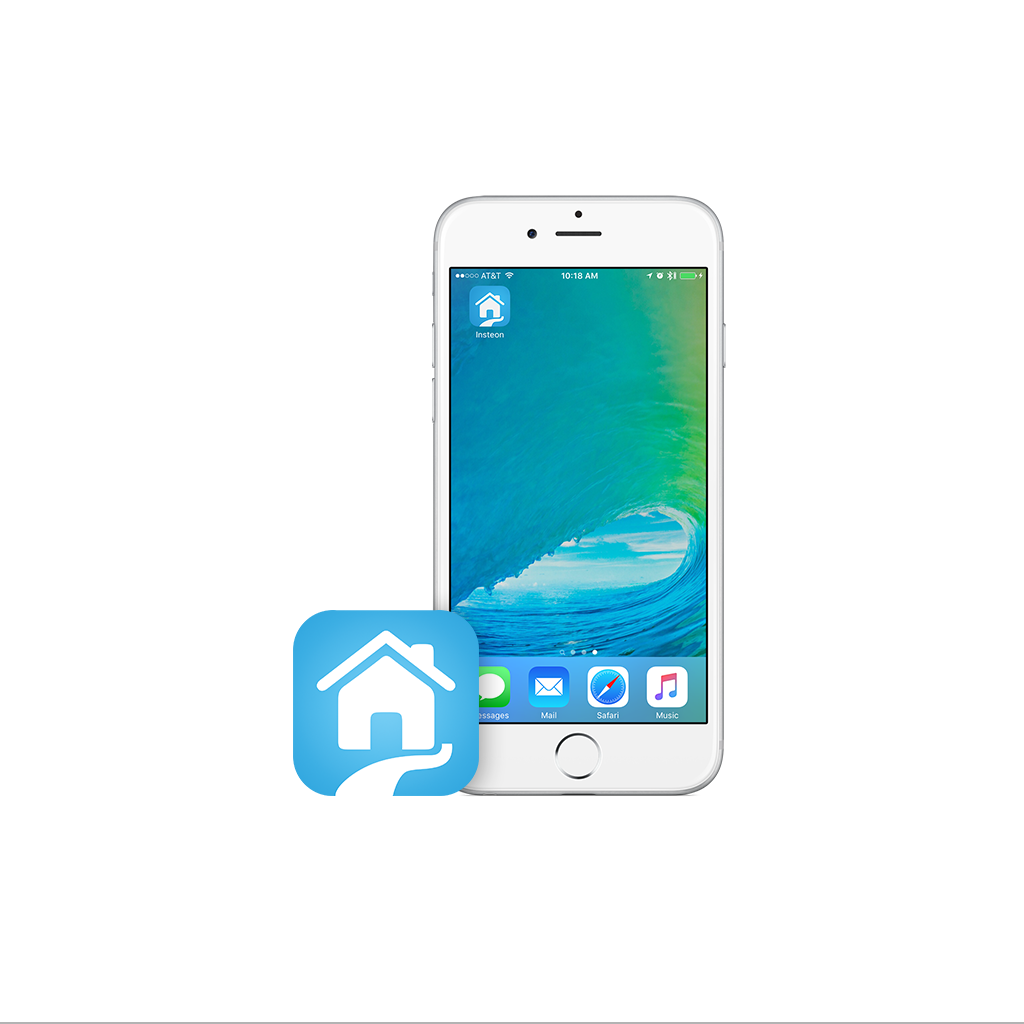
Open the Insteon for Hub app and select Add a Camera. Insteon cameras require Insteon Hub.
Guides, Manuals and Downloads
Quick Start Guide
Featured

Owner's Manual
Featured

Downloads
Featured

Optional Wall Mount

Mount the optional bracket using screws and wall anchors.
Basic Troubleshooting
Camera Firmware
Keep your HD Wi-Fi Camera up-to-date; updates add features, fix bugs and close potential security vulnerabilities.

Current HD Wi-Fi Camera Firmware
Camera Revision 1.0 - 3.9
System 1.4.1.9Application 2.11.1.12
Current HD Wi-Fi Camera Firmware
Camera Revision 4.0 or Later
System 1.9.3.16Application 2.51.2.33
Configure HD Wi-Fi Camera Network Settings
Your camera's network settings are automatically configured for you when you add an Insteon Wi-Fi Camera. If you would prefer to configure your camera prior to adding it to the Insteon app, use your camera's web browser interface.
You can configure the following settings from the Insteon app:
IP Address
HTTP Port
You can configure the following settings from the camera's web browser interface:
DHCP
IP Address
Subnet Mask
Gateway IP Address
Primary DNS Server
Secondary DNS Server
HTTP Port
HTTPS Port
ONVIF Port
If you have already added your camera to the Insteon app, you should remove it before you make your changes. After you have completed your changes, re-add the camera as an already-configured Wi-Fi camera.
Step 1
Using Camera Tool, locate your camera on your network. Double click your camera in the list to open its web browser interface.
Step 2
Enter your camera's user name and password and click Login when ready.
Step 3
Click Settings
Step 4
From the left sidebar, click Network and then IP Configuration.
Step 5
Configure your network settings as desired. When ready, click Save.
Step 6
From the left sidebar, click Port.
Step 7
Configure your port settings as desired. When ready, click Save.
Factory Reset an Insteon Wi-Fi Camera
If you are unable to connect to your Insteon Wi-Fi Camera, have forgotten your camera's user name and or password or otherwise wish to reset your Wi-Fi Camera to factory settings with the default user name and password.
Factory reset your Insteon Wi-Fi Camera
- Connect your camera to your router using an ethernet cable.
- Ensure your camera is connected to power.
- Use a straightened paperclip to press and hold the recessed reset button for 10 seconds. If your camera was connected to power less than 60 seconds prior to attempting a factory reset, you may need to wait for the camera to completely start up before you can attempt the factory reset.

On Insteon Wi-Fi Cameras and Insteon HD Wi-Fi Cameras, the reset button is located on the bottom of the camera housing.

On Insteon Outdoor Wi-Fi Cameras and Insteon HD Outdoor Wi-Fi Cameras, the reset button is located at the end of the combined power and data cable.
Additional Information
Factory resetting your camera will restore these settings to default:
- Basic Settings
- Camera Name
- Logs
- Camera Time settings including time zone and NTP options
- User Accounts and Passwords. After resetting your camera, your camera's user name will be "admin" and the password will be blank
- Multi-camera configuration (HD Cameras only)
- Network Settings
- IP Address settings
- After resetting your camera, your camera will use DHCP to obtain an IP Address
- Wi-Fi Settings
- Configured PPPoE settings
- DDNS settings
- UPnP Settings
- Custom port settings
- Email alert settings
- FTP upload settings
- Automatic Remote Access settings. After resetting your camera, Automatic Remote Access will default to enabled.
- Camera firewall settings
- Video Settings
- Video timestamp and on-screen display
- Configured privacy zones
- Configured snapshot settings
- Configured IR LED schedule
- Alarm Settings
- Configured motion detection settings
- Recording Settings
- FTP upload settings
- Alarm recording settings
- Local alarm settings
- Scheduled recording settings
- Pan and Tilt Settings (Indoor Cameras only)
- Pan and tilt speed
- Cruise settings
- Power-on position settings
HD Wi-Fi Camera - Quick Start Guide

HD Wi-Fi Camera - Owner's Manual

Insteon Wi-Fi Camera Setup Assistant (Mac OS X)
The following steps are necessary the first time the Insteon Camera Setup Tool is run on any Mac running Mac OS X 10.7.5 or later.


Right click (or control + click) on the Insteon Camera Setup Tool. In the contextual menu that appears, click Open
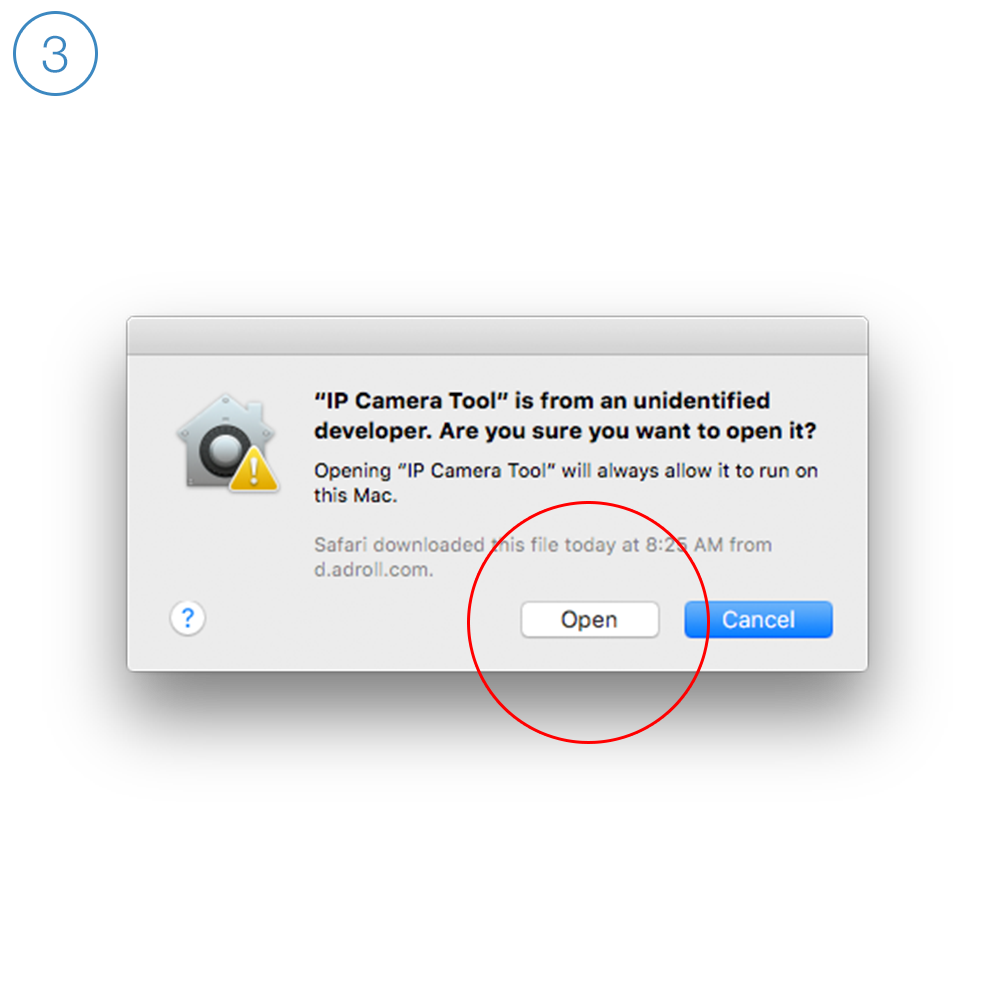
You will be informed that this app is from an unidentified developer. Click Open to launch the Camera Setup Assistant.