Apple Routers use a tool called AirPort Utility for router configuration.
- Launch AirPort Utility from the Utilities folder from within Applications on your Mac. If you are on a PC and using an Apple router, be sure that AirPort Utility has been downloaded and installed from www.apple.com.
- There are two different versions of AirPort Utility.
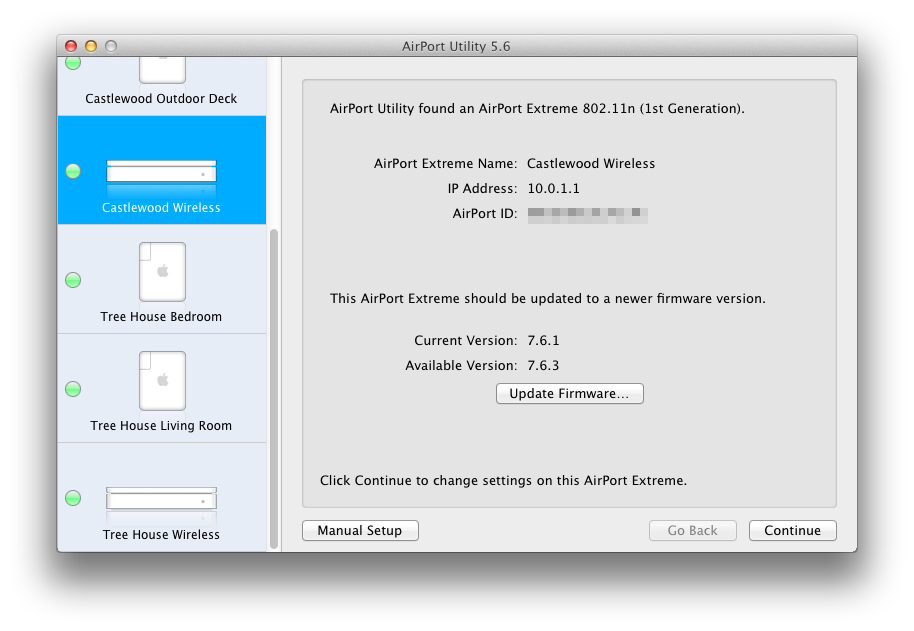
AirPort Utility (5.x)
- Click on your AirPort Express or AirPort Extreme from the left sidebar.
- At the top of the window, click the Internet button.
- lick the DHCP button near the top of the window.
- Click the small “+” button beneath the DHCP Reservation section.
- Enter the following information on the DHCP Reservation Setup Assistant panel.
- Description: Insteon Wi-Fi Camera
If you have more than one Wi-Fi camera, use a name that is unique and descriptive of it's location in your home. - Reserve Address: MAC Address
- Description: Insteon Wi-Fi Camera
- When finished, click Continue.
- Enter the following information on the next page of the DHCP Reservation Setup Assistant panel. You will need to pick an IP Address that is not already in use. We suggest something like 10.0.1.222. Make note of this address as you will need it later. You can find your Wi-Fi camera's MAC Address on the underside of the camera.
- If your camera will be connected with an ethernet cable, enter the MAC Address from the larger label.
- If your camera will be connected with Wi-Fi, enter the MAC Address from the smaller label. This label may also state "Wi-Fi MAC."
- MAC Address: 00:AA:00:AA:00:AA
- IPv4 Address: 10.0.1.222
- When finished, click Done.
- Click the NAT button at the top of the window.
- Click the Configure Port Mappings button.
- Click the small “+” button beneath the Port Mappings section.
- Fill out the fields for your Wi-Fi Camera. The Public and Private TCP Ports should match the port displayed by your Camera. Leave the Service menu and UDP Ports blank. The Private IP Address is the one that you wrote down previously. When finished, click Continue.
- Enter the same description as that used in Step 5 and click Done.
- At the bottom of the configuration panel, click the Update button. Your router will restart. You should also restart your Wi-Fi Camera by disconnecting and reconnecting it to power.
To test your connection, turn off Wi-Fi on your smartphone and attempt to view your camera. If you can control and monitor your camera when not using Wi-Fi, then everything has been successfully configured. If not, something unforeseen may be complicating matters and we suggest that you contact Insteon Support for troubleshooting.

AirPort Utility (6.x)
- Click on your AirPort Express or AirPort Extreme.
- Click on the Edit button on the popup that appears.
- At the top of the panel that drops down, click the Network button.
- Click the small “+” button beneath the DHCP Reservation section.
- Fill out the fields for your Wi-Fi Camera. You will need to pick an IP Address that is not already in use. We suggest something like 10.0.1.222. Make note of this address as you will need it later. You can find your Wi-Fi Camera's MAC Address on the bottom of the camera.
- Description: Insteon Wi-Fi Camera
- If you have more than one Wi-Fi camera, use a name that is unique and descriptive of it's location in your home.
- Reserve Address: MAC Address
- MAC Address: 00:AA:00:AA:00:AA
- IPv4 Address: 10.0.1.222
- If your camera will be connected with an ethernet cable, enter the MAC Address from the larger label.
- If your camera will be connected with Wi-Fi, enter the MAC Address from the smaller label. This label may also state "Wi-Fi MAC."
- If your camera will be connected with an ethernet cable, enter the MAC Address from the larger label.
- When finis hed, click Save.
- Description: Insteon Wi-Fi Camera
- Click the small “+” button beneath the Port Settings section.
- Fill out the fields for your Wi-Fi Camera. The Public and Private TCP Ports should match the port displayed by your Camera. Leave the UDP Ports blank. The Private IP Address is the one that you wrote down in the previous step.
- When finished, click Save.
- At the bottom of the configuration panel, click the Update button. Your router will restart. You should also restart your camera by disconnecting and reconnecting it to power.
To test your connection, turn off Wi-Fi on your smartphone and attempt to view your camera. If you can control and monitor your camera when not using Wi-Fi, then everything has been successfully configured. If not, something unforeseen may be complicating matters and we suggest that you contact Insteon Support for troubleshooting.