
Insteon Hub Pro (HomeKit-enabled) - Owner's Manual

Insteon+ Frequently Asked Questions (FAQ)
What is a HomeKit Bridge?
A HomeKit bridge is a device that connects devices that are otherwise not HomeKit-compatible with HomeKit. Insteon Hub Pro is a HomeKit bridge that enables Insteon switches, outlets, plug-in devices and more to work with HomeKit.
What is a HomeKit Accessory?
A HomeKit Accessory is a device like a switch, outlet or plug-in device that can is natively HomeKit-enabled and can talk to HomeKit-enabled apps without a bridge.
What is a Scene?
A Scene is a predetermined setting of a group of devices. Scenes let you quickly adjust multiple devices in your home with a single button. Learn more about creating a Scene.
What is a Room?
Rooms help you group devices based on their location within your home. Rooms also help Siri understand how to respond to commands like "turn off the Kitchen."
What is a Zone?
Zones help you group rooms in your home. Zones help Siri understand how to respond to commands like "turn on the downstairs lights."
What is a Guest Account?
A Guest Account is a way for you to grant limited access to family members or guests staying at your Home. Guests can control devices and scenes but they are unable to make changes to your home.
How do I log out of my Insteon+ Application?
You can sign out of Insteon+ from Insteon+ settings. Navigate to settings by tapping the back arrow until you see homes. Tap the Settings button in the upper left corner and then scroll down and tap Sign Out.
How do I set up my HomeKit for access when I am not at not at home?
Monitoring and controlling your home with Insteon+ and Insteon Hub Pro HomeKit requires an Apple TV (3rd generation or later) with Apple TV software 7.0 or later.
Can I use other manufacturers HomeKit products with Insteon+?
While Insteon+ is capable of controlling other manufacturers' HomeKit-enabled products, product functionality may vary due to various device types. At the moment, the only other HomeKit-enabled device is the Lutron Smart Bridge with HomeKit Technology. Insteon+ can recognize this device as well as the in-wall dimmer and plug-in dimmer. To use the Lutron Smart Bridge with Insteon+, you must first enable Siri from within the Lutron app.
How many devices can be added to Insteon+?
HomeKit currently imposes a limitation of 100 devices.
Where can I find a list of supported Insteon accessories for Insteon Hub Pro?
Insteon+ and Insteon Hub Pro support most of the Insteon devices availble today.
Will previous versions of the Insteon Hub work with HomeKit?
Only the Insteon Hub Pro (2243-222) is compatible with the HomeKit framework. Older versions of Insteon Hub will not be compatible with HomeKit.
Can I use Siri with Insteon Hub Pro?
Yes, Insteon Hub Pro works with Siri.
If the Hub Pro goes offline, can I still use Siri to control devices and scenes?
Siri requires a functioning Insteon Hub Pro to control your devices and scenes. If your Insteon Hub Pro becomes unavailable, Siri will be unable to control devices.
Where can I learn more about Insteon Hub Pro and Insteon+?
Extensive support is available on insteon.com. To learn about features of Insteon Hub Pro and Insteon+, visit this page.
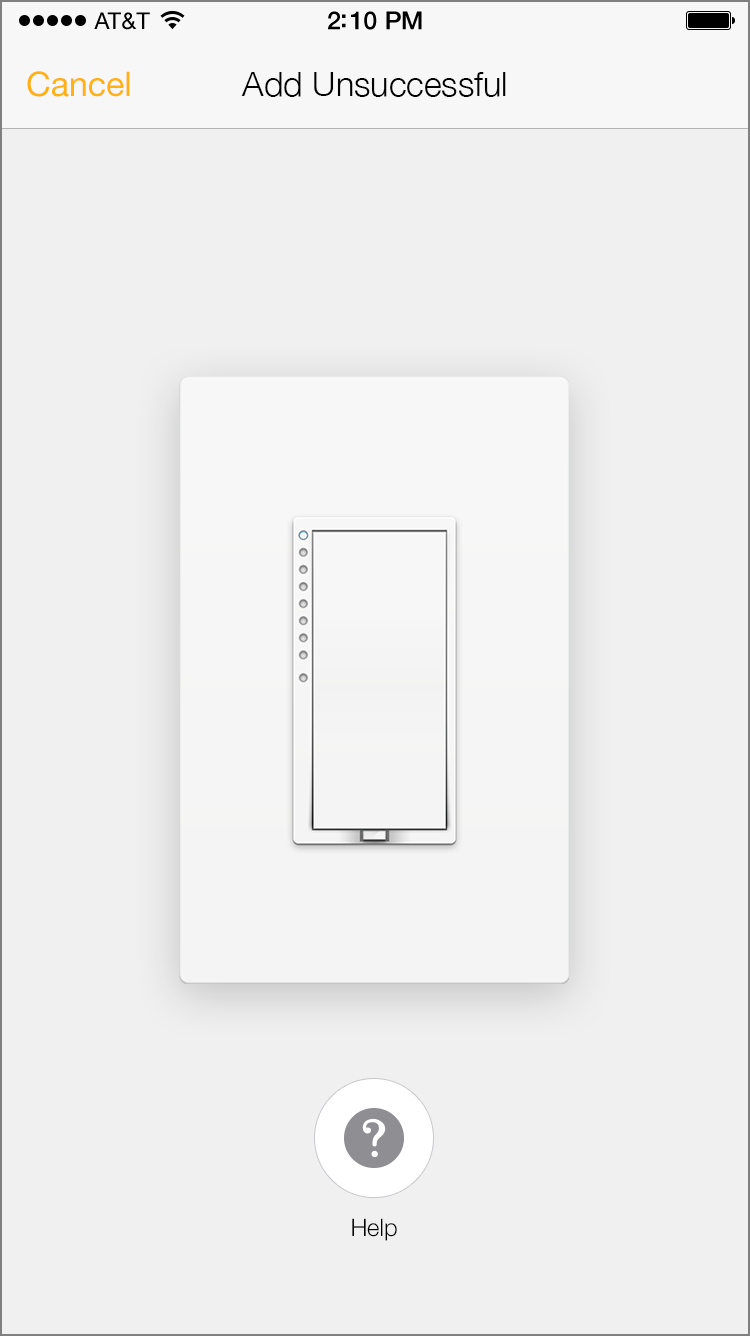
Adding a Device is Unsuccessful
While using Insteon+, you may encounter a situation where you are unable to add new devices. There are several reasons why this might occur.
Your new Insteon device is too far from another Insteon device to reliably receive an Insteon signal
Your new Insteon device exited linking mode unexpectedly
Multiple Insteon devices were placed in linking mode simultaneously
More than four minutes have elapsed since Searching for Devices began
If you are unable to add a new Insteon device, try the troubleshooting steps below.
Basic Troubleshooting
Try restarting the Add process by tapping cancel. Wait about 30 seconds and then attempt to add your new Insteon device again.
If you are adding a plug-in device or sensor, try repositioning it or move it closer to Hub Pro.
Try adding using the Insteon ID by tapping the Add by Insteon ID button. Learn more about locating your device's Insteon ID.
If you are adding an Insteon sensor, try putting the sensor into linking mode before Searching for Devices from Insteon+. To do this, press and hold the set button on your new Insteon sensor until its LED begins blinking. Now tap Add a Device from the Configure your Home sheet.
If more than four minutes elapses from the time you tap Add a Device and when you press your new Insteon device's set button, you will have to restart the process. Make sure you are able to tap the new Insteon device's set button within four minutes of tapping Add a Device. If not, try adding using your new device's Insteon ID.
Insteon+ and Insteon Connect Accounts
Use this article to differentiate which account stores your home's configuration and device information.
Account Information
Insteon+ requires an Insteon Connect account but stores the majority of configuration information using the AppleID on your iPhone, iPad or iPod touch. You can view your AppleID by navigating to Settings on your device's home screen and tapping iCloud. You can view your Insteon Connect account by tapping Account under Insteon+ app settings.
Insteon for Hub requires an Insteon Connect account and stores all home configuration using the Insteon Connect service. You can view your Insteon Connect account by tapping Settings from the Drawer and then tapping Account.
Deleting Your Account
At any time, you can delete your Insteon Connect account using either the Insteon+ app or the Insteon for Hub app.
Deleting your account from Insteon for Hub will permanently remove devices, scenes, schedules, rooms and homes.
| Feature | Insteon+ | Insteon for Hub | Insteon for SmartLinc |
|---|---|---|---|
| Insteon Hub Configuration | Insteon Connect | Insteon Connect | - |
| Insteon Devices | AppleID | Insteon Connect | Insteon Connect |
| HomeKit-native Devices | AppleID | - | - |
| Scenes | AppleID | Insteon Connect | Insteon Connect |
| Schedules | AppleID | Insteon Connect | Insteon Connect |
| Rooms | AppleID | Insteon Connect | Insteon Connect |
| Zones | AppleID | - | - |
| Homes | AppleID | Insteon Connect | - |
| Users | AppleID | - | - |
Adding an Insteon Device with the Set Button
With Insteon+ and Hub Pro, you can control both Insteon-native devices as well as HomeKit-compatible devices. Follow these steps to add an Insteon device to Insteon+ using the set button.
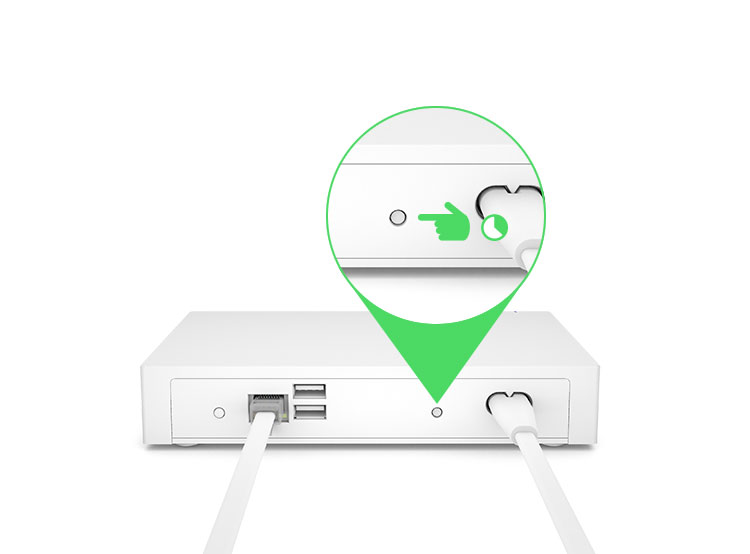
1. Press and hold the set button on the back of Hub Pro until Hub Pro beeps.

2. Press and hold the set button on your Insteon device until it double beeps or its LED begins blinking. If adding Insteon bulbs, remove power and re-apply power. Bulbs will enter linking mode on power up.

3. Repeat the process in reverse, starting with the new Insteon device.

4. Navigate to All Devices. Your new Insteon device should appear with a generic icon and name. If your device does not appear, force-close the Insteon+ app and restart.
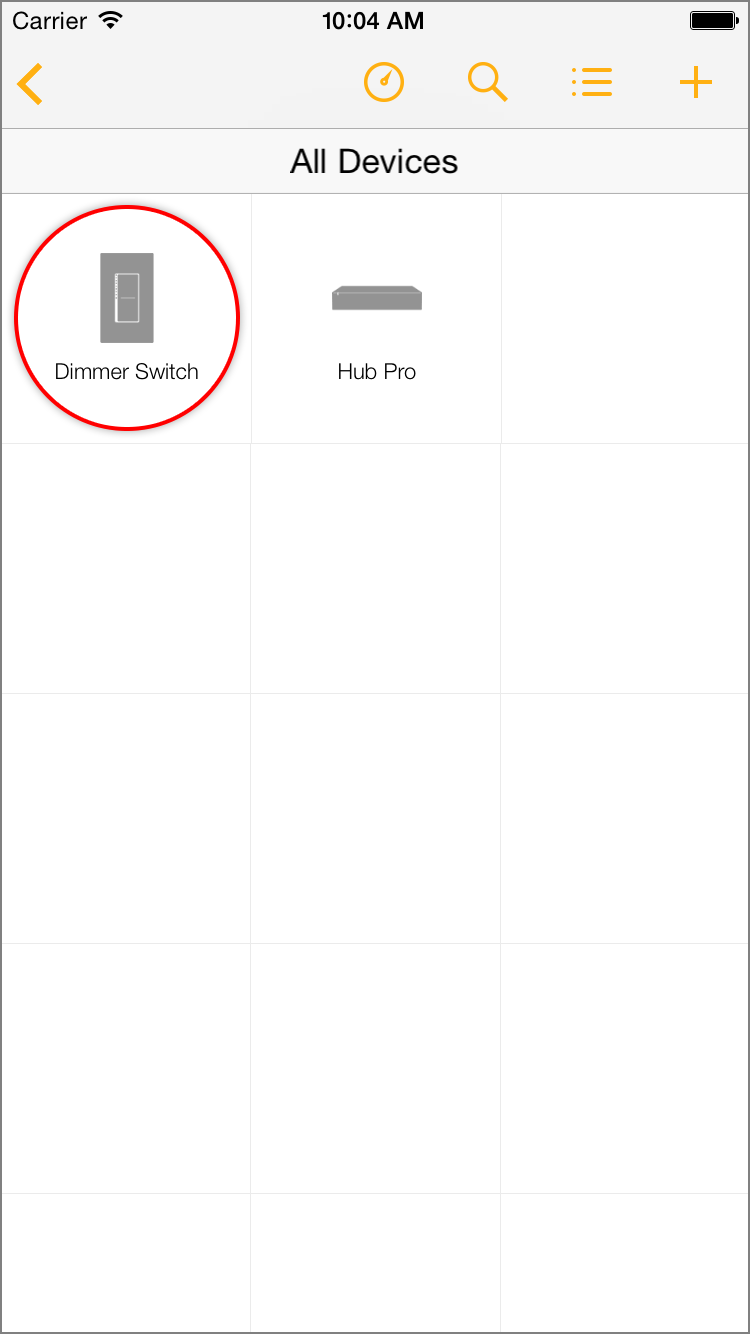
5. Tap the Configure button in the upper right corner to open the Configure your Home sheet.

6. Tap Edit Devices.

7. Select your new Insteon device from the list of devices.

8. Finish up by giving your device a name and selecting an icon.

Adding a HomeKit-compatible Device
With Insteon+, you can control both Insteon-native devices as well as HomeKit-compatible devices. Use the steps in this article to add a HomeKit-compatible device to Insteon+.
1. Tap the + in the upper right corner to open the Extend your Home sheet.

2. Tap Add a Device

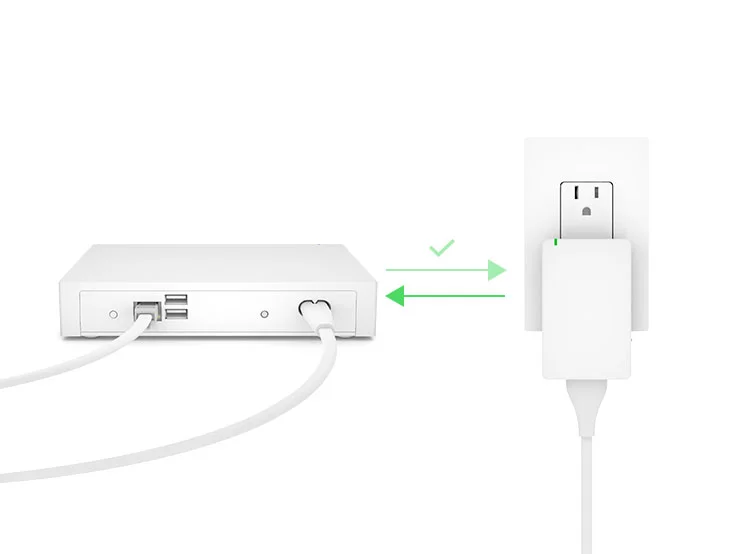
3. Ensure that your HomeKit accessory is powered on.
4. Tap your new HomeKit accessory after it appears at the bottom of the screen.

5. Enter the 8-digit HomeKit pairing key found on your new HomeKit device.

6. Finish up by giving your device a name, picking an icon and adding it to a room.

Deleting an Insteon Device with the Set Button
If a device has stopped functioning or if you are replacing an older device with a newer device, you can remove it from Insteon+. Follow the steps in this article to remove an Insteon device from Insteon+. Removing a device will also remove it from any room, schedules and scenes and cannot be undone.
Delete an Insteon Device from Insteon+
1. Press and hold the set button on the back of Hub Pro until Hub Pro beeps. Press and hold the set button on the back of Hub Pro until Hub Pro beeps again.
2. Press and hold the set button on your old Insteon device until it double beeps.

3. Repeat the process in reverse, starting with your old Insteon device. After several moments, the Insteon device will disappear from Insteon+.
If An Insteon Device Has Not Disappeared from Insteon+
If you have followed the steps to remove an Insteon device from Insteon+ but the removed device continues to show and no longer responds, try the troubleshooting steps below.
Sign out of Insteon+
1. Navigate to Homes and tap Settings
2. Tap Sign Out

Force Quit Insteon+
1. With Insteon+ open on your iPhone, iPad or iPod touch, press and hold the power button until Slide to Power Off appears.

2. Release the power button and press and hold the Home button until Insteon+ disappears.

Deleting a HomeKit Device
Update: the instructions below no longer apply. To delete devices from HomeKit, use the Apple Home app.
If a device has stopped functioning or if you are replacing an older device with a newer device, you can remove it from Insteon+. Follow the steps in this article to remove a HomeKit device from Insteon+. Removing a device will also remove it from any room, schedules and scenes and cannot be undone.
1. Tap Configure to open the Configure your Home sheet.

2. Tap Edit Devices.

3. Tap the HomeKit device that you want to delete.

4. Tap Delete Device. In the sheet that appears, confirm that you want to delete the device. This will also remove the device from any rooms, scenes, schedules or triggers in your home.
