Getting Started

Connect the ethernet cable to your router and plug in the power cable.
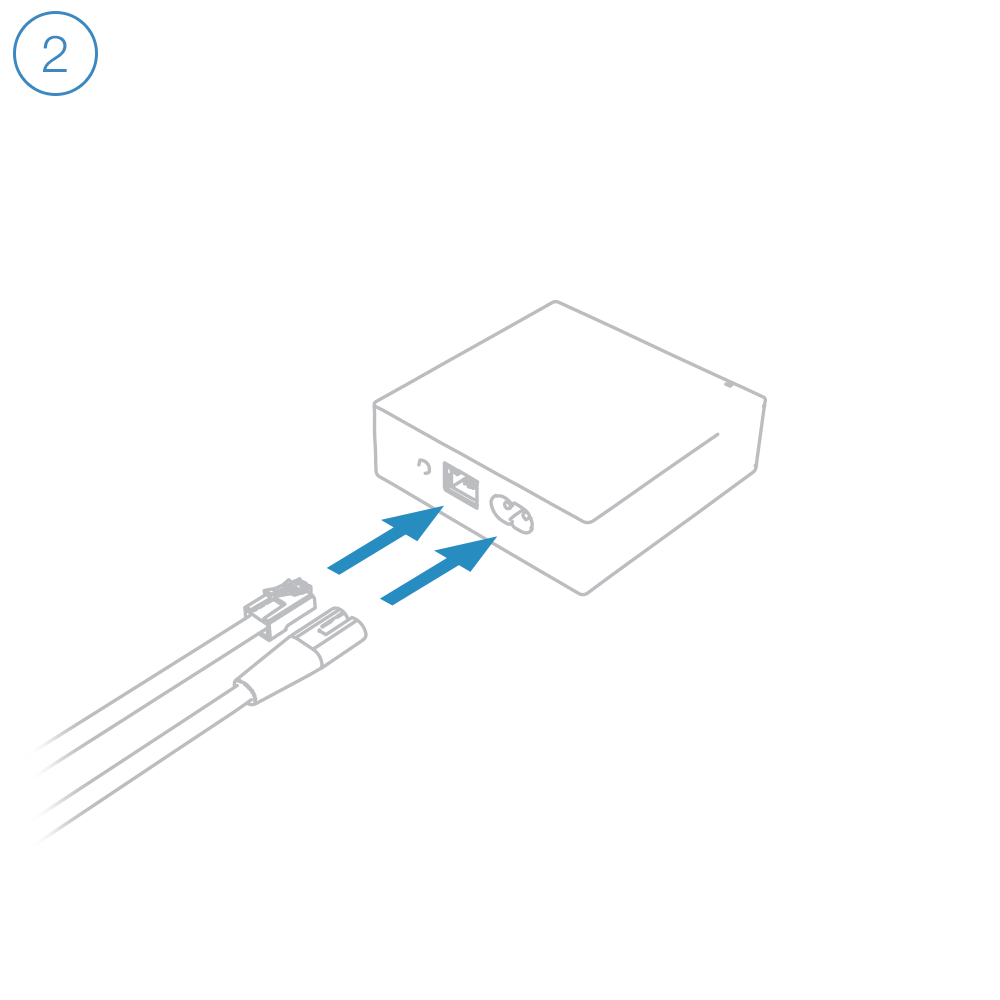
Connect the cables to Insteon Hub.
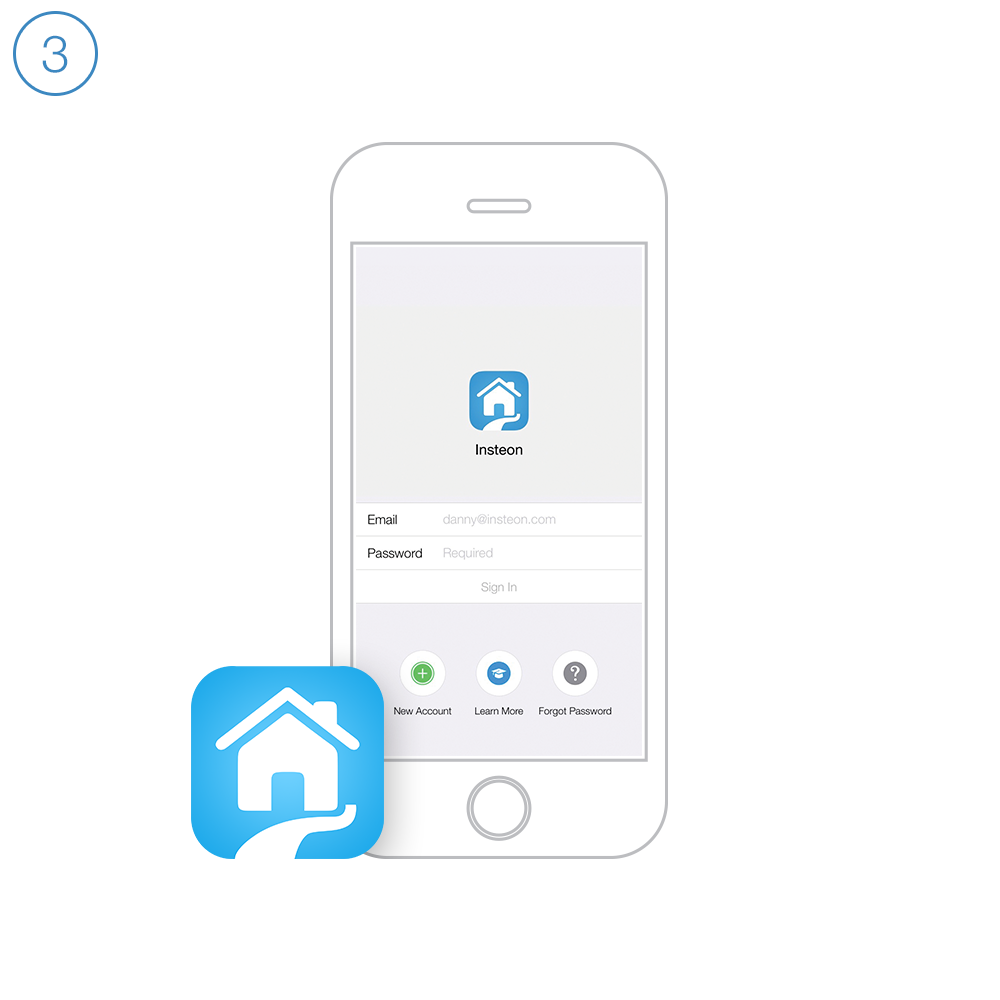
Download the Insteon for Hub app from your device's app store and create a new account.

Follow the on-screen instructions to scan the Setup Code and configure Insteon Hub.
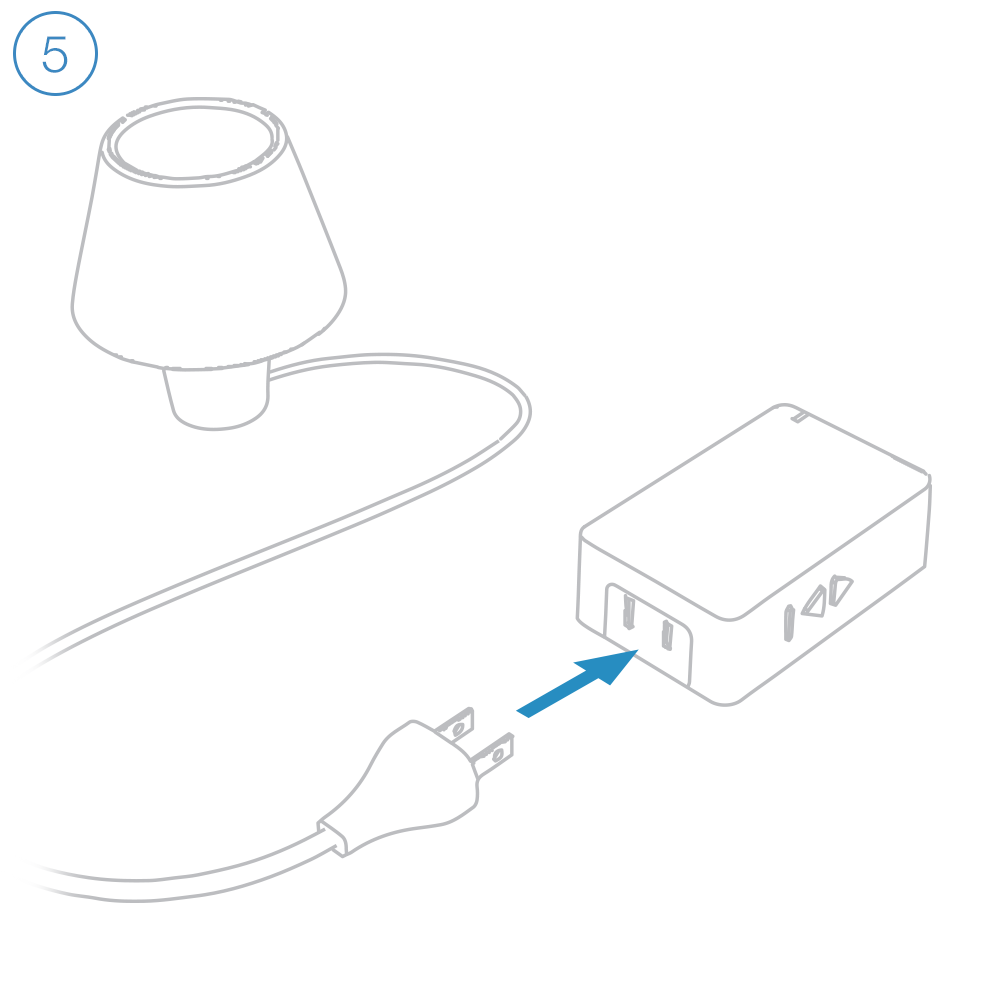
Turn on your lamp and connect it's power cord to Dimmer Module.


Plug Dimmer Module into a power outlet.

Return to the Insteon app, tap Plug-in Device and follow the on-screen instructions.

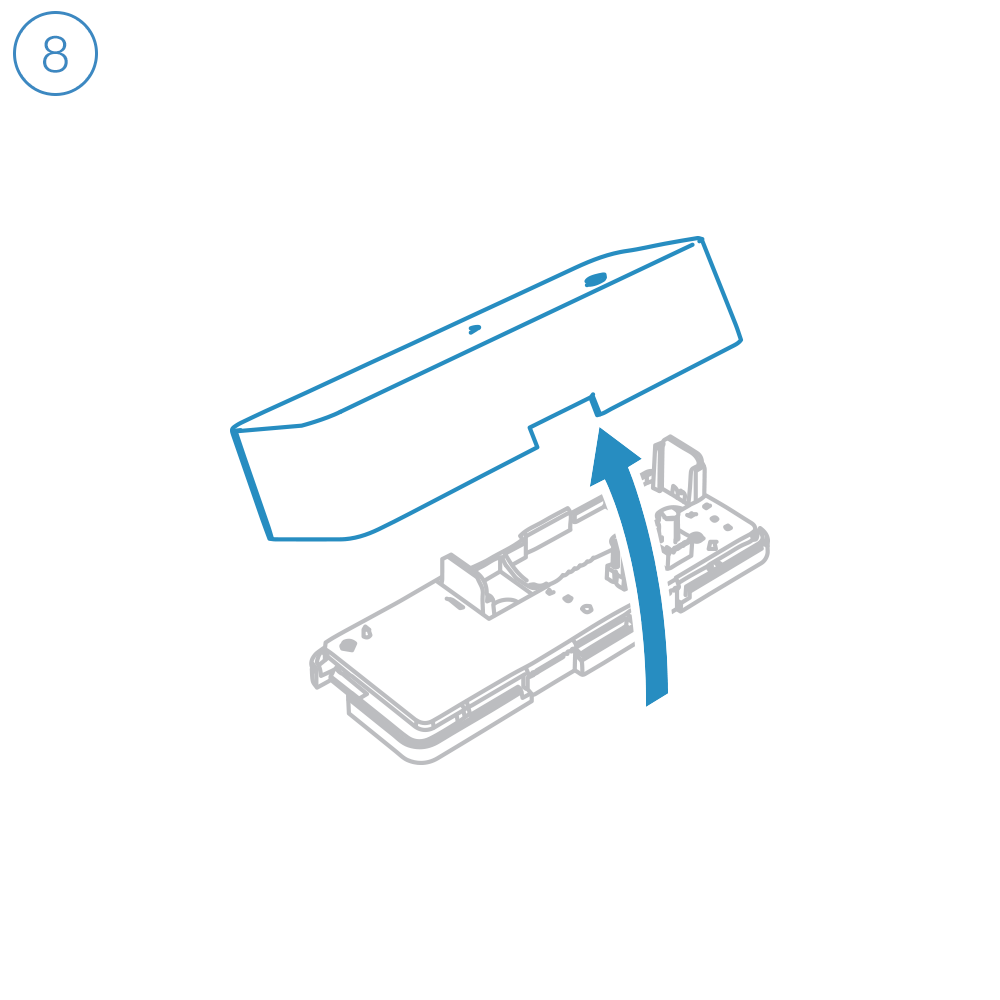
Dimmer Module's set button is on the right side of the device.
Remove the top cover on Door/Window sensor.

Install the included AA battery and replace the top cover.
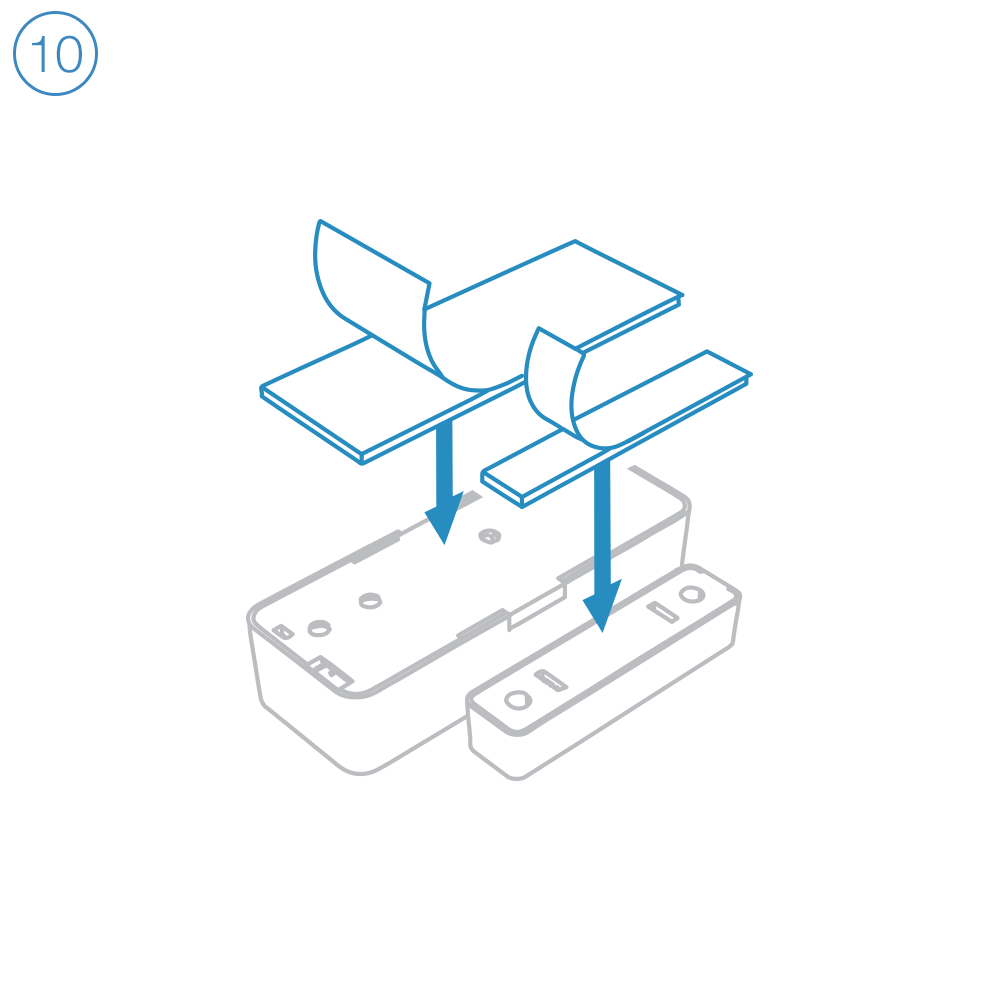
Peel off the tape backing and apply the mounting tape to the sensor and magnet.

Position the sensor and magnet so that the arrows face and the gap is no greater than ½ inch.

Return to the Insteon app, tap Open/Close Sensor and follow the on-screen instructions.
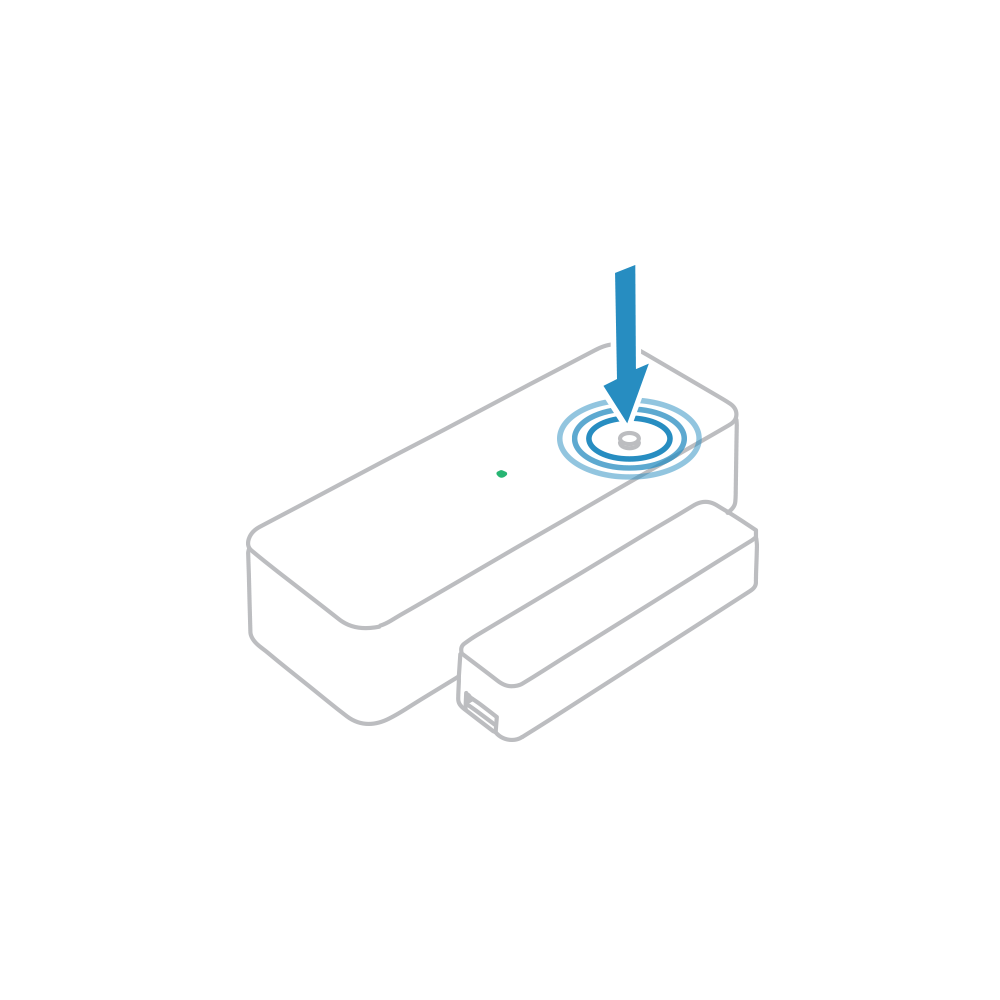
Door/Window Sensor's set button is on the top of the sensor.

Open Motion Sensor by removing the battery cover.

Install the included 9V battery.

Return to the Insteon app, tap Motion Sensor and follow the on-screen instructions.

Motion Sensor's set button is inside the battery compartment.
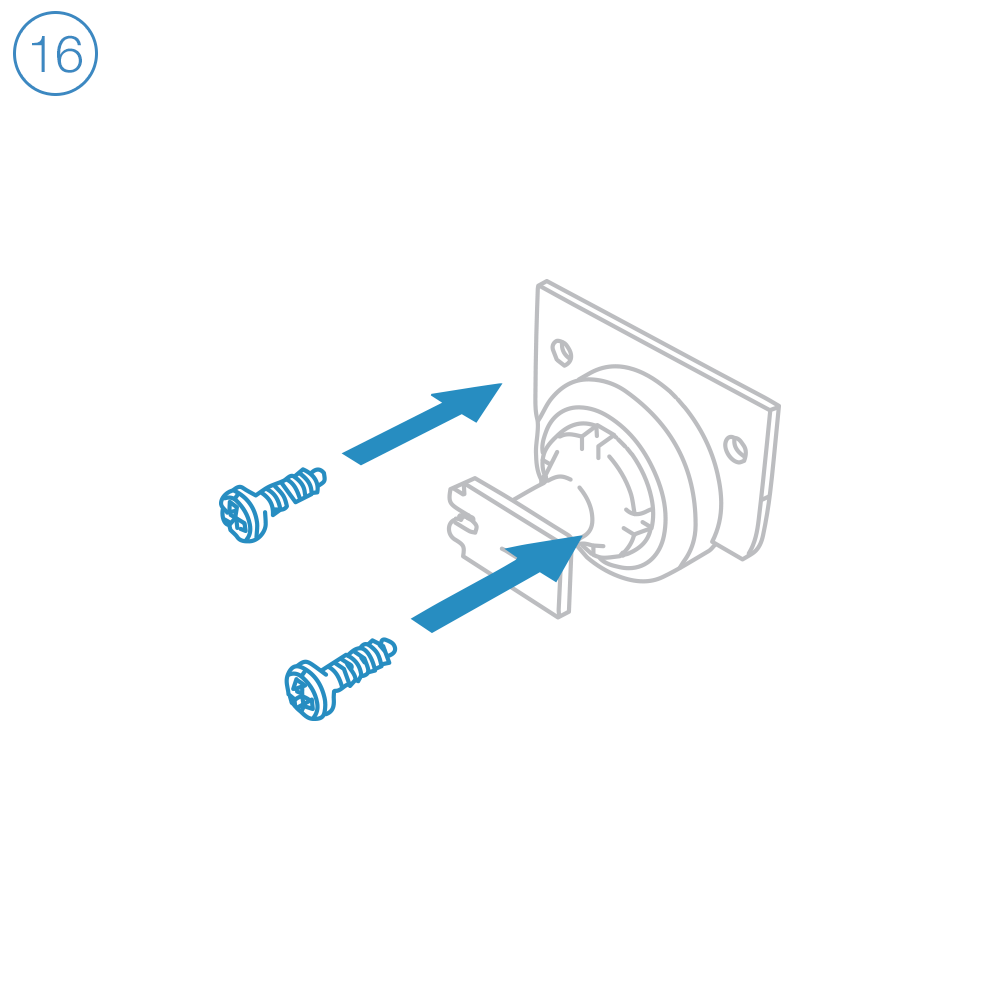
Affix the sensor mount to a wall using the provided screws.
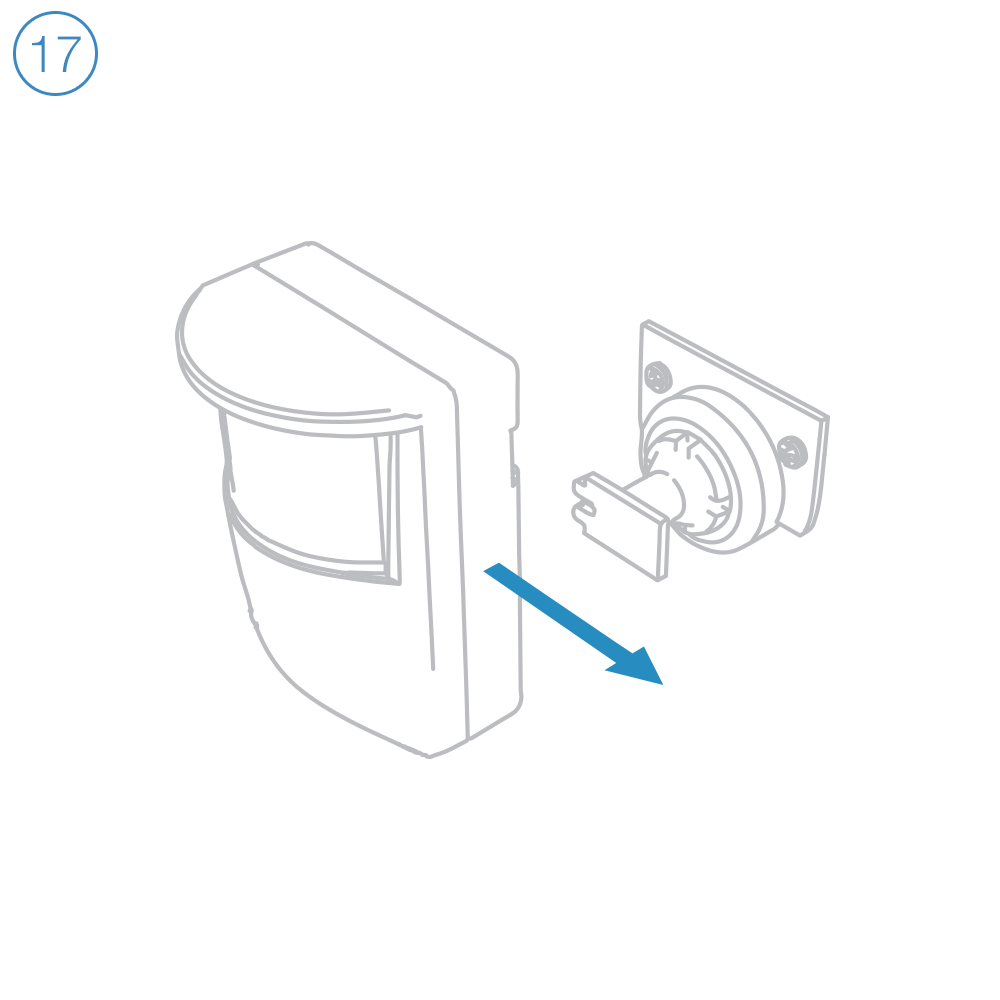
Replace the battery cover and slide Motion Sensor onto the mount.
Guides, Manuals and Downloads
Quick Start Guides

Owner's Manual


Downloads
Going Further