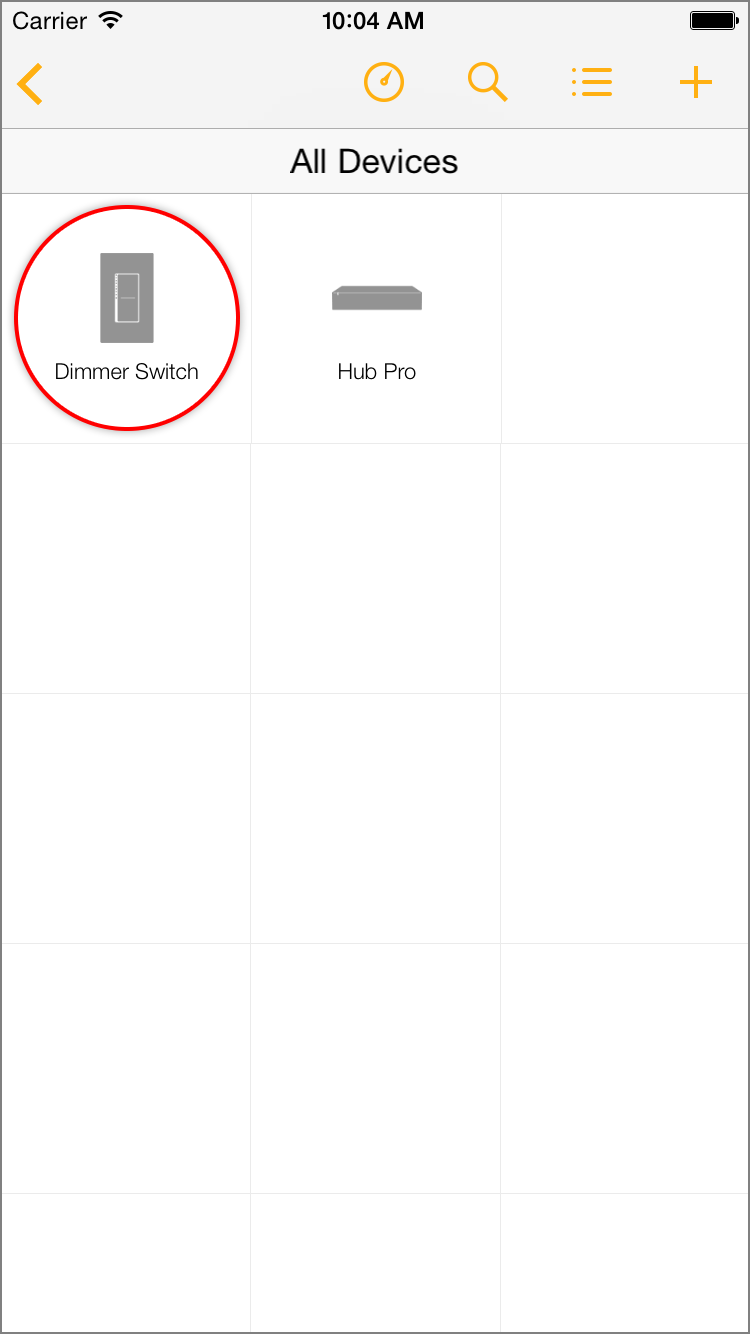
While using Insteon+, you may encounter a situation where you are unable to add new devices. There are several reasons why this might occur.
Your new Insteon device is too far from another Insteon device to reliably receive an Insteon signal
Your new Insteon device exited linking mode unexpectedly
Multiple Insteon devices were placed in linking mode simultaneously
More than four minutes have elapsed since Searching for Devices began
If you are unable to add a new Insteon device, try the troubleshooting steps below.
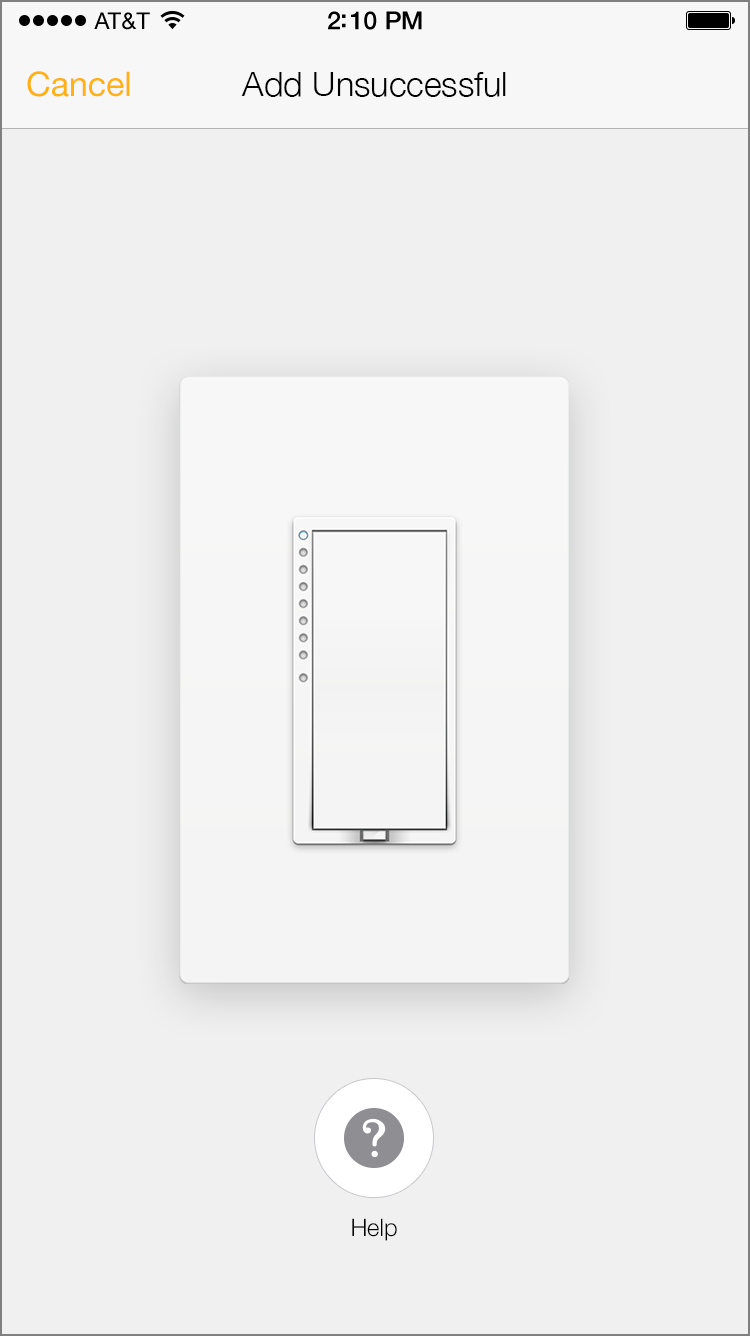
Basic Troubleshooting
Try restarting the Add process by tapping cancel. Wait about 30 seconds and then attempt to add your new Insteon device again.
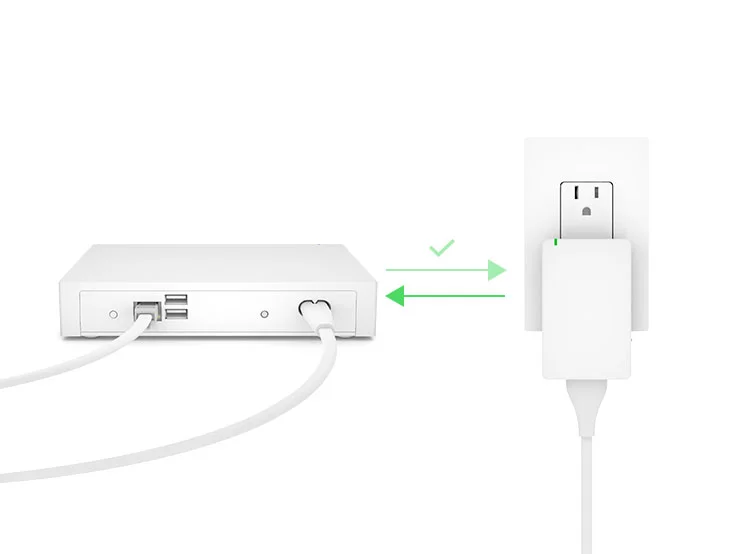
If you are adding a plug-in device or sensor, try repositioning it or move it closer to Hub Pro.
Try adding using the Insteon ID by tapping the Add by Insteon ID button. Learn more about locating your device's Insteon ID.
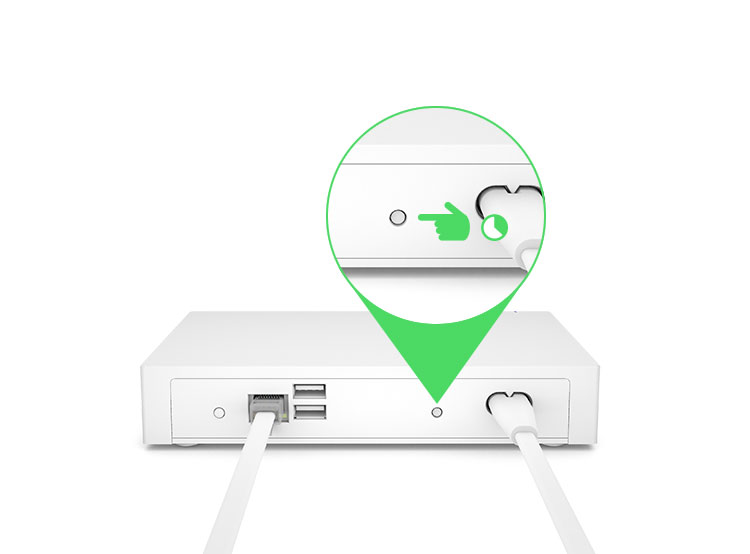
If you are adding an Insteon sensor, try putting the sensor into linking mode before Searching for Devices from Insteon+. To do this, press and hold the set button on your new Insteon sensor until its LED begins blinking. Now tap Add a Device from the Configure your Home sheet.
If more than four minutes elapses from the time you tap Add a Device and when you press your new Insteon device's set button, you will have to restart the process. Make sure you are able to tap the new Insteon device's set button within four minutes of tapping Add a Device. If not, try adding using your new device's Insteon ID.