Guides and Manuals
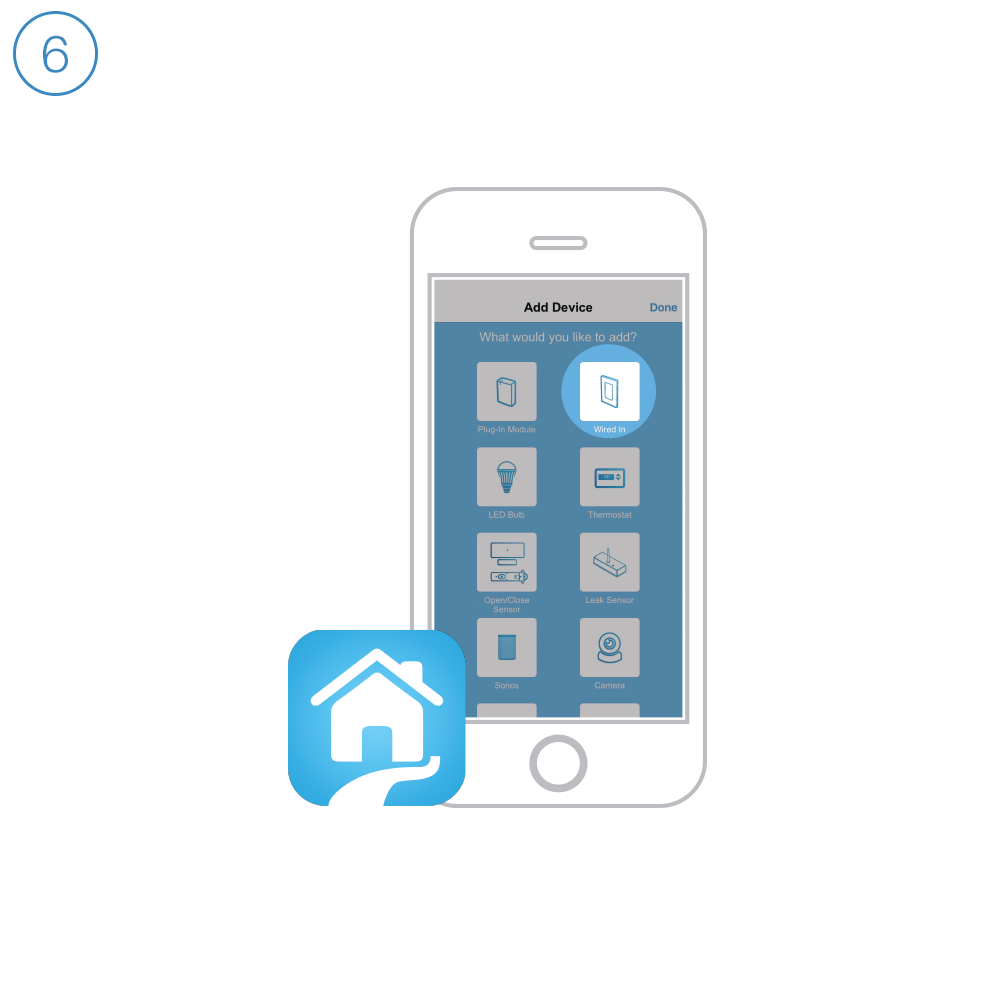
Quick Start Guides
Featured


Owner's Manuals
Featured

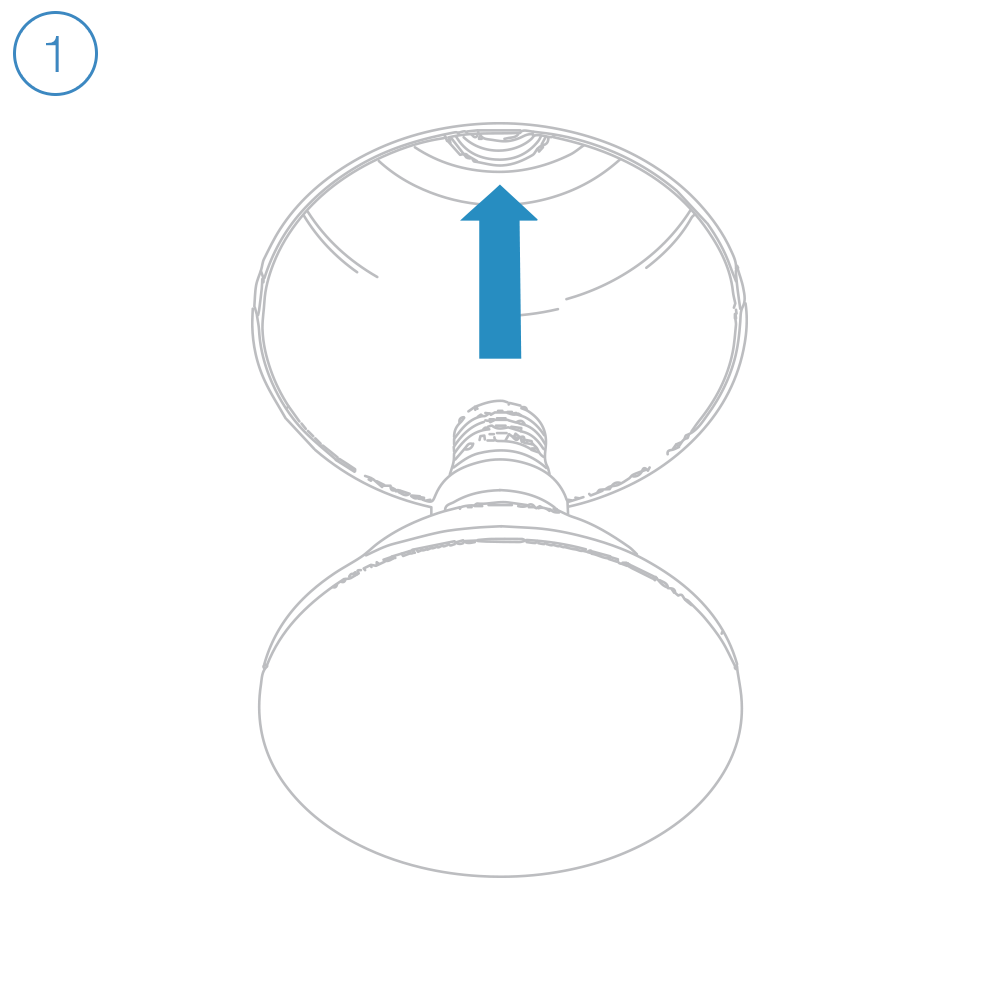
Going Further
Featured